You can build useful things from wood without a table saw, a large garage, or years of experience. Beginners woodworking projects can start with a tape measure, a handsaw, a drill, and one straight board.
Your first cuts may not be perfect. That is normal. With a safe setup, a modest tool kit, and a simple plan, you can learn the skills that make each project easier than the last.
Key Takeaways
- Start with a small project that uses straight cuts and simple fasteners.
- Buy basic, reliable tools first, then add specialty tools when a project calls for them.
- Keep your work secured, your floor clear, and your safety gear within reach.
- Choose straight, dry lumber and practice every new cut on scrap wood.
- Measure carefully, dry-fit parts before assembly, and allow yourself time to correct small errors.
Beginners woodworking: What You Need Before You Start
Woodworking is the process of cutting, shaping, joining, sanding, and finishing wood to make something useful. A shelf, planter box, serving tray, or step stool all count. You do not need ornate joinery or expensive hardwood to get started.
Your first projects teach practical skills: measuring, marking lines, making cuts, drilling pilot holes, sanding rough edges, joining boards, and applying a finish. These skills build on each other. A square cut and a well-placed screw can matter more than a crowded workshop.
Hand tools give you control and slow the work down in a helpful way. Power tools save time, but they require more attention to setup and safety. A basic set of essential hand tools for beginners can take you a long way before you add larger machines.
 Choose a Workspace That Keeps You Safe and Organized
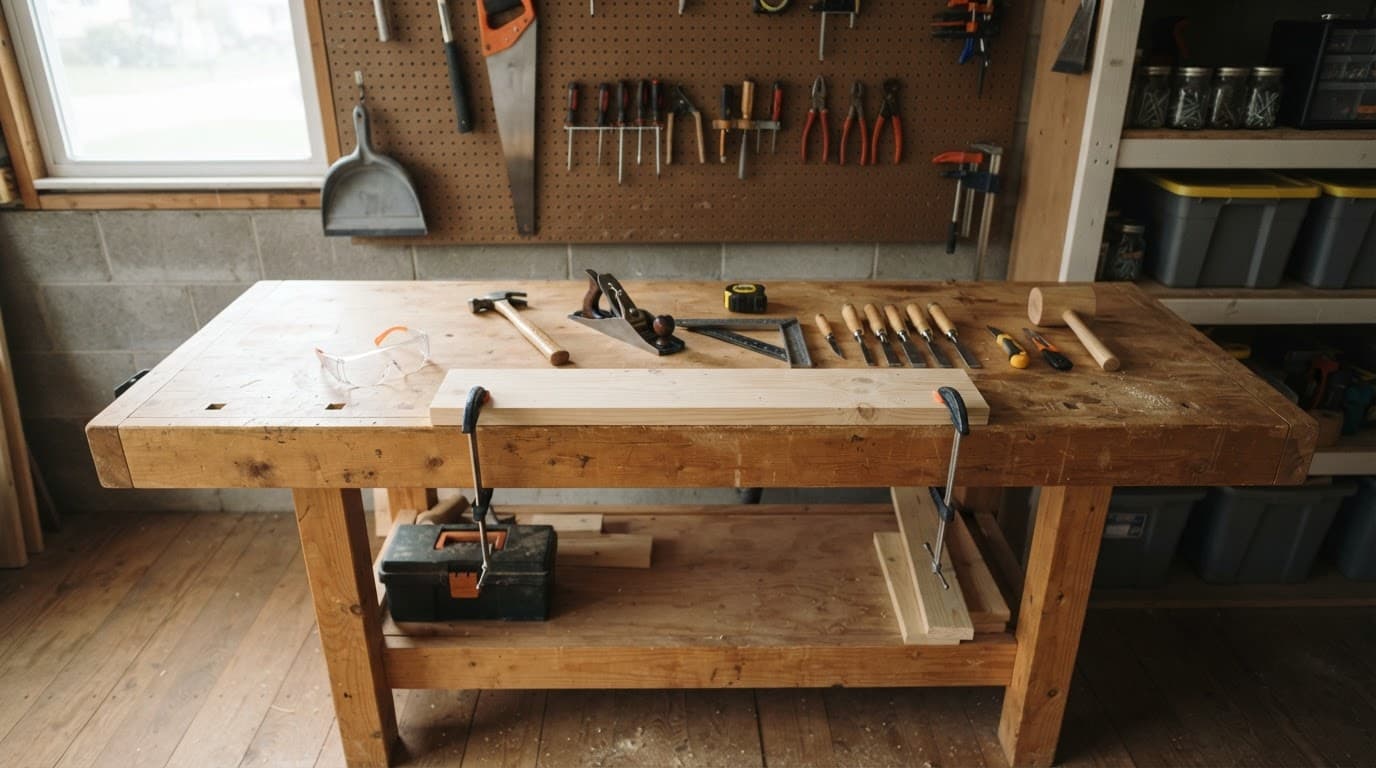 Choose a Workspace That Keeps You Safe and Organized
A garage, basement, shed, or covered outdoor area can work well. You need a sturdy surface, bright lighting, airflow for dust and finishes, and enough room to support a board without it tipping.
Keep the floor clear of cords, offcuts, and loose tools. Secure every board with clamps before you cut or drill. If you use power tools, make sure you can reach an outlet without stretching a cord across your work area.
Set a Realistic Beginner Budget
Start with tools for the project in front of you, not every project you might make someday. A tape measure, combination square, pencil, drill-driver, handsaw, clamps, hammer, screwdrivers, and sandpaper cover many early builds.
Set aside money for the supplies that disappear quickly: lumber, screws, glue, sandpaper, finish, safety glasses, and replacement blades. You can borrow or rent a circular saw, jigsaw, or sander until you know how often you will use one. This starter tool kit for DIY woodworking follows the same practical approach.
Build Your Beginner Woodworking Tool Kit the Smart Way
Choose tools by the job they do. A tape measure and combination square help you lay out accurate cuts. A pencil and utility knife make clear marks. A handsaw or circular saw cuts boards, while a drill-driver makes holes and drives screws.
Clamps hold pieces still during cutting and glue-up. A hammer and screwdriver set handle basic hardware. Sandpaper, a sanding block, or a random orbital sander smooth the surface. A workbench, sturdy table, or two sawhorses gives you a stable place to work.
Beginners woodworking does not require one perfect shopping list. Buy a decent square, sharp blades, and drill bits that fit your projects. Those small choices prevent many frustrating mistakes.
Essential Safety Gear and Habits
Wear safety glasses whenever you cut, drill, sand, or strike metal. Use hearing protection around loud power tools. A dust mask or respirator should match the dust or finish you are working with, especially during long sanding sessions.
Wear closed-toe shoes and fitted clothing. Tie back long hair, read the tool manual, inspect blades before use, and unplug a tool before changing a blade or bit. Keep hands out of the cutting path.
Gloves can protect your hands while handling rough lumber, but they can be unsafe near rotating blades or drill bits because loose material can catch.
A sharp, clean blade usually cuts more predictably than a dull one. Review these basic woodworking safety practices before using an unfamiliar tool.
Learn the Tool Skills You Will Use Most
Use scrap wood to practice straight cuts, pilot holes, countersinks, clamping, and sanding. Make a test cut before cutting the board you paid for. Check whether the cut is square, then adjust your setup.
Sharp tools, steady pressure, and careful layout matter more than speed. When a tool starts to wander or bind, stop and check the board, blade, and clamp position.
Choose Wood and Make Your First Simple Project
Look for boards that are dry, straight, and free of major cracks. Sight down the edge of each board at the store. Leave behind lumber that twists, bows, cups, or has loose knots where you need a screw or joint.
Pine is affordable, easy to cut, and forgiving for shelves or planter boxes. Plywood is stable and useful for box projects, though its edges may need trim or careful sanding. Hardwood is durable but costs more and can be harder to work. Reclaimed wood has character, but check it carefully for nails, staples, and hidden damage.
A small shelf, serving tray, planter box, or basic step stool is a sensible first project. Each one teaches you how parts fit together without asking too much from your tools.
Use a Simple Project Plan Before You Cut
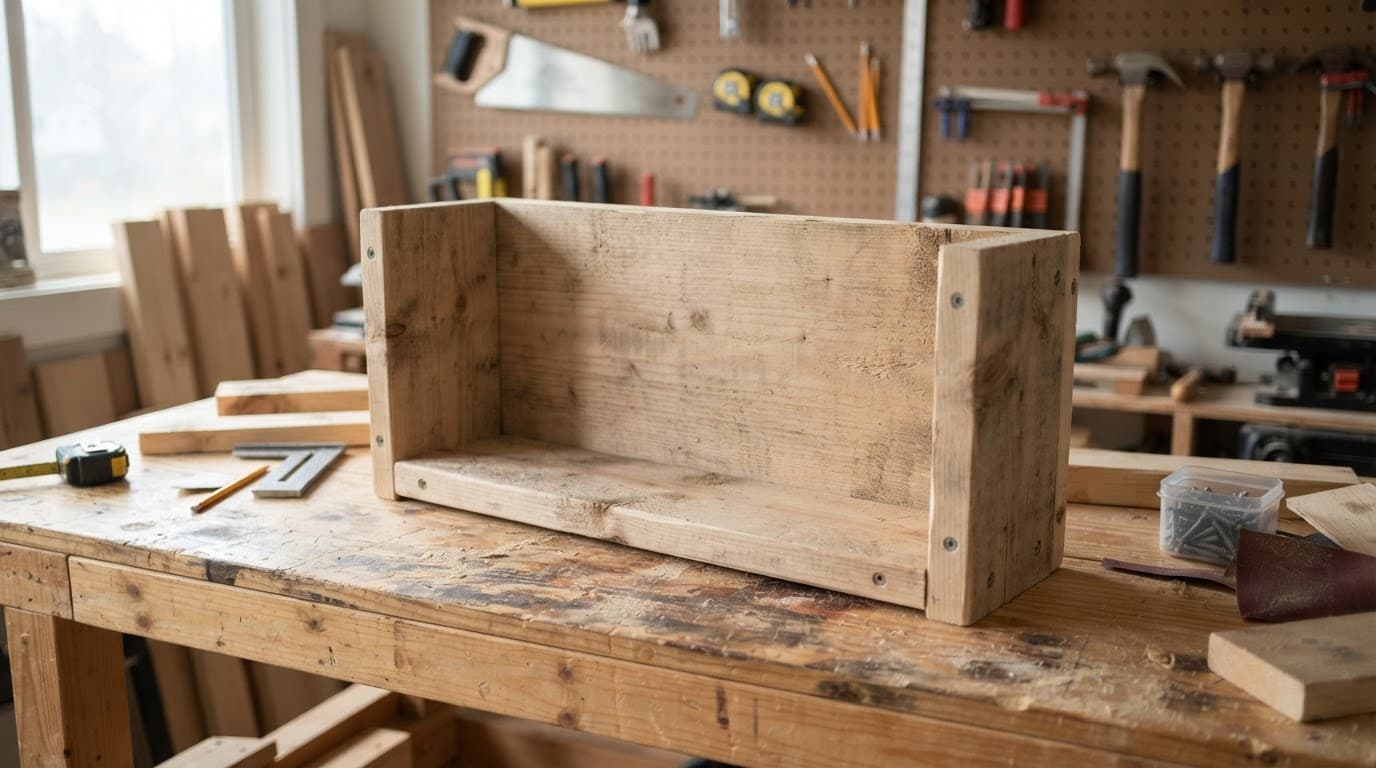
Read the whole plan before buying wood. Confirm the finished dimensions, board thickness, hardware, joinery, and assembly order. Write a cut list, then label the parts as you cut them.
Remember that a saw blade removes material, called kerf. Measure the actual width and thickness of each board instead of trusting the label. Those few checks can save a project from becoming too narrow or out of square.
Start With Beginner-Friendly Wood Joints
Butt joints are the simplest option: one board meets another at a square edge. Screws, nails, dowels, pocket holes, and shallow dados can strengthen that connection without advanced hand-cut joinery.
For many early projects, wood glue plus properly placed screws works well. Predrill near board ends to reduce splitting. Clamp parts in place, then use a square to check the corners before the glue sets.
Sand and Finish Your Project Without Making It Complicated
Start with medium-grit sandpaper, often 120 grit, then move to 180 or 220 grit if the project needs a smoother surface. Ease sharp edges with a few light passes. Remove dust before each coat of finish.
Paint hides blemishes and works well for utility projects. Clear finishes show the grain. For a serving tray or food-contact item, choose a finish labeled for that use. Test stain or paint on an offcut first because the same finish can look different on pine and plywood.
Avoid the Mistakes That Slow Down New Woodworkers
Most problems begin before assembly. Rushed measurements, warped lumber, dull blades, and unsecured boards can turn a simple project into a long repair job. Measure twice, but also inspect the board and your marks before cutting.
Do not skip test pieces. Avoid over-sanding edges until they lose their crisp shape. Apply thin coats of finish rather than one heavy coat that drips or stays tacky. Choose a project that matches your current tools and skills.
Mistakes are part of the process, not proof that you are bad at it. Keep notes about the wood, hardware, finish, and methods that worked.
Improve Accuracy With a Repeatable Process
Read the plan, inspect the lumber, measure and mark, cut rough parts, verify dimensions, dry-fit, assemble, sand, and finish. Label parts as soon as you cut them.
Check for square at each stage. A small error in one board can spread through the entire project if you do not catch it early.
Know When to Upgrade Your Tools
Upgrade when a tool limits your accuracy, safety, or the types of projects you can make. A circular saw helps with long cuts. A jigsaw handles curves. A random orbital sander saves time on larger surfaces.
Add a router or pocket-hole jig when your plans call for those tasks often. As your work area grows, improve dust collection and tool storage before buying machines you rarely use.
Frequently Asked Questions
Do you need a table saw to start woodworking?
No. A handsaw, circular saw with a guide, or jigsaw can handle many early projects. A table saw is useful for repeated straight cuts, but it is not required for shelves, trays, boxes, or simple outdoor projects.
How much space do you need for woodworking?
You need enough room to safely support the boards you are cutting. A folding workbench or sawhorses in one side of a garage can be enough for small builds.
Can you use construction lumber for furniture?
You can, especially for painted shelves, benches, and utility pieces. Choose the straightest boards available, let them dry if they feel damp, and avoid boards with large loose knots.
How long does a first project take?
A basic shelf or planter box may take an afternoon, plus drying time for glue or finish. Work slowly and plan for setup, sanding, and cleanup, not only cutting and assembly.
Is reclaimed pallet wood safe to use?
Only use it when you know where it came from and it is clean, dry, and free of chemicals or pests. Remove all nails and staples before cutting, and avoid unknown pallets for food-contact projects.
Make Your First Cut With Confidence
You do not need a large workshop to begin. A safe workspace, a small set of dependable tools, affordable wood, and one manageable plan are enough.
Start with scrap wood and practice the cuts you will need. Then choose a simple woodworking project, put on your safety gear, and make your first careful cut.